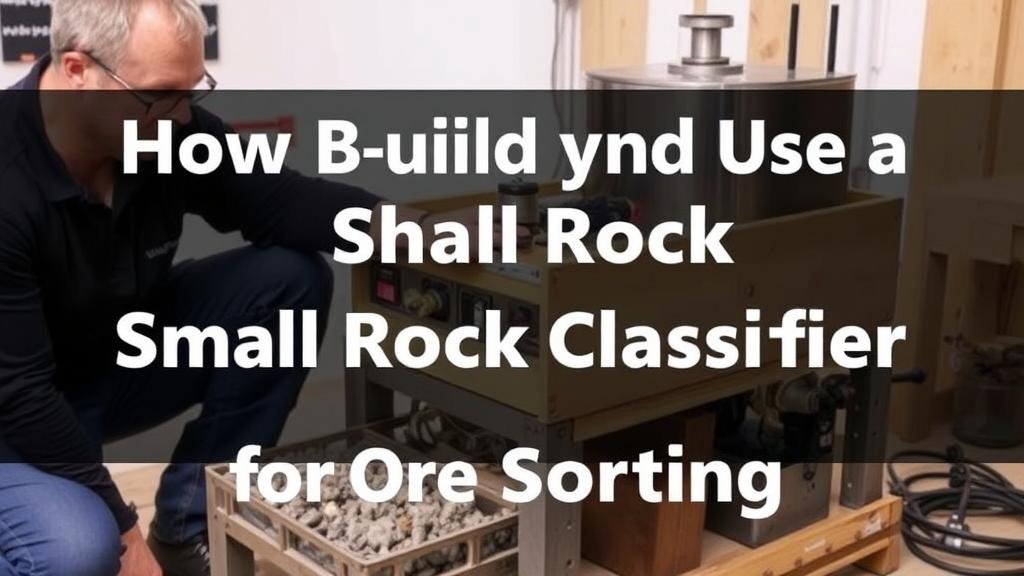
How to Build and Use a Small Rock Classifier for Ore Sorting
How to Build and Use a Small Rock Classifier for Ore Sorting
Rock classifiers are essential tools in the mining and geology sectors, instrumental in sorting ore based on particle size and density. This article details how to build and effectively use a small rock classifier for ore sorting, making your operation more efficient and effective.
Understanding the Basics of Rock Classifiers
A rock classifier is used to separate materials into various sizes, which is crucial for effective processing. The classification process helps to identify valuable minerals and reduce waste. This assessment often relies on a two-step process: the screening phase and the separation phase.
Materials Needed for Building a Small Rock Classifier
Constructing a small rock classifier requires specific materials that ensure durability and performance. Below are the components you will need:
- Metal frame (steel or aluminum for durability)
- Wire mesh screen (with varying mesh sizes depending on the desired particle size)
- Vibrating motor (to aid in the consistent movement of materials)
- Collection trays (to gather sorted materials)
- Screws and brackets (for assembly)
Step-by-Step Guide to Building the Rock Classifier
The construction of a small rock classifier requires methodical steps to ensure functionality and efficiency. Below is a straightforward sequence to guide you:
- Design the Frame: Start by outlining the dimensions of your classifier. A standard size could be 3 feet in length, 2 feet in width, and 2 feet in height, which is suitable for small-scale operations.
- Assemble the Frame: Use the metal frame to create a sturdy base, ensuring that it can withstand vibrations from the motor.
- Install the Wire Mesh: Attach the wire mesh screen to the top of the classifier at an angle. This angle should be about 30 degrees to facilitate the movement of materials down the screen.
- Attach the Vibrating Motor: Secure the vibrating motor to the frame. Ensure it is placed in a manner that promotes uniform vibration across the screen.
- Set up Collection Trays: Position the collection trays beneath the classifier to catch the sorted materials. You may want different trays for different size fractions.
Using the Rock Classifier Effectively
Once your classifier is built, using it effectively is key to efficient ore sorting. Here are several best practices:
- Feed Material Consistently: Ensure that the material fed into the classifier is consistent in size and moisture content to achieve optimal sorting results.
- Monitor Vibration Settings: Adjust the vibrating motor settings based on the type of material being sorted. Heavier materials may require slower vibrations to allow for effective separation.
- Regular Maintenance: Inspect the classifier frequently for wear and tear, particularly the mesh screens, and replace them as necessary.
Real-World Applications and Case Studies
Small rock classifiers have been successfully implemented in various mining operations. For example, a small-scale gold mining operation in Alaska utilized classifiers to improve the efficiency of their sorting process. By employing a classifier, they reported a 30% increase in gold recovery rates while significantly decreasing the time spent on sorting. This example demonstrates the tangible benefits of using a properly designed rock classifier.
Conclusion and Actionable Takeaways
Building and using a small rock classifier can greatly enhance the efficiency of ore sorting in mining operations. By following the outlined steps to construct the classifier and adhering to best practices during its use, one can maximize both productivity and profitability.
In summary:
- Gather appropriate materials and tools for construction.
- Follow a systematic approach in building the classifier.
- Adopt best practices for operation to ensure optimal performance.
With these guidelines, you are well-equipped to construct your own small rock classifier and enhance your ore sorting capabilities.


