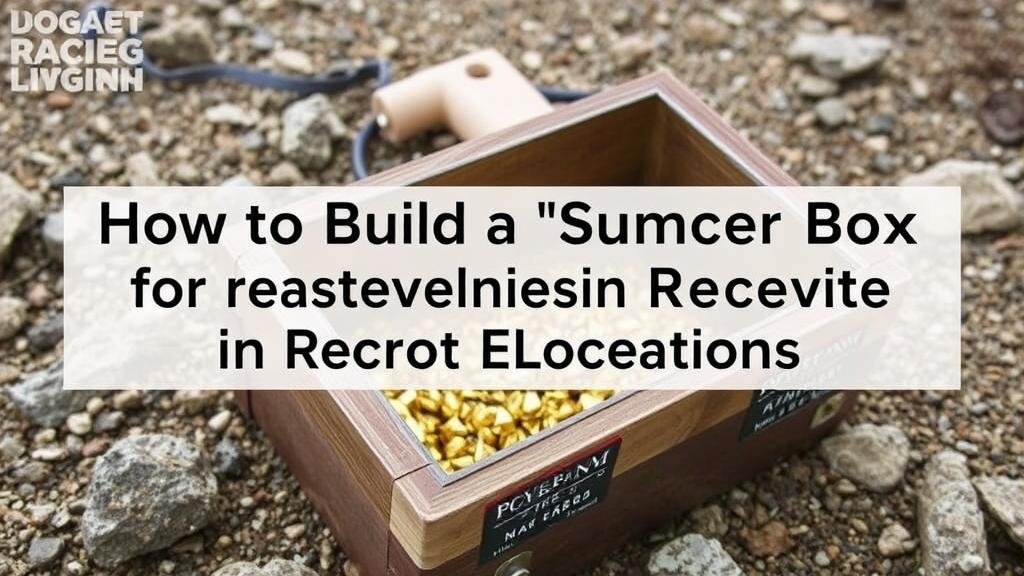
How to Build a Simple Rocker Box for Recovering Gold in Remote Locations
How to Build a Simple Rocker Box for Recovering Gold in Remote Locations
The quest for gold recovery can take enthusiasts deep into remote areas, where traditional methods may be impractical. One effective tool for this purpose is a rocker box, a versatile piece of equipment that allows for the separation of gold from gravel and sediment using water and motion. This article will guide you through the process of building a simple yet functional rocker box, as well as its application in gold prospecting.
Understanding the Rocker Box
A rocker box, also known as a cradle, is an essential tool in placer mining and gold prospecting. It utilizes the principle of gravity and motion to separate heavier materials from lighter ones. The box is designed with a sloped bottom and a screen to allow water to wash away lighter materials, while the heavy gold settles at the bottom.
Typically, a rocker box consists of two main compartments: the sluice and the rocker section. The sluice section is where the initial material enters, and the rocker section captures the heavier particles, such as gold. This device can process larger amounts of material compared to panning, and it is particularly useful in areas with a constant water supply.
Materials Required
Building a rocker box can be accomplished with common materials that are easy to source. Below is a list of essential components:
- Wood (e.g., plywood or 2×4 lumber)
- Nails or screws
- Hinges
- A metal screen or mesh (1/4 inch or 1/8 inch)
- Rubber matting or carpet (for grip)
- Water source (bucket or portable river pump)
Step-by-Step Construction Process
Follow these steps to build your rocker box:
Step 1: Design and Cut the Base
Start by designing the base of the rocker box. A typical size is about 36 inches in length, 12 inches in width, and 12 inches in height. Cut the wood to the appropriate dimensions, ensuring to create a sloped bottom for efficient flow. A slight tilt will facilitate water movement for separation.
Step 2: Build the Rocker Mechanism
Attach the hinges to one end of the box. This will allow you to rock the box back and forth easily. Create a brace under the rocker box that attaches to the hinges, ensuring stability during operation.
Step 3: Create the Sluice Section
Install the metal screen on the top of the sluice compartment to filter out larger materials. Make sure it is securely fastened to withstand the flow of water and heavy sediment. Below the screen, place rubber matting or carpet to help catch fine gold particles.
Step 4: Final Assembly
Assemble all parts of the rocker box, ensuring that each section is firmly constructed. You can also add additional reinforcements as necessary to enhance durability.
Using the Rocker Box
Once your rocker box is completed, its time to put it to work. Here are the steps for effective gold recovery:
- Find a good location near a water source with known gold deposits.
- Fill the sluice section with material from the riverbed and use the water to wash it through.
- Rock the box back and forth rhythmically while allowing water to flow over the sluice.
- Continue adding material until the box fills and check for gold every couple of minutes.
Tips for Successful Gold Recovery
To optimize your gold recovery efforts, consider the following tips:
- Choose a site with ample water flow to help wash out lighter materials.
- Use a classifier (a smaller mesh sieve) to separate out larger rocks before feeding them into the rocker box.
- Regularly inspect for gold by rinsing the carpet or matting.
Case Studies and Real-World Applications
Rocker boxes have a rich history in gold mining dating back to the 19th century. They were especially popular during the California Gold Rush, where miners quickly used them to increase their yield compared to traditional panning methods. In areas such as Alaska and the Australian Outback, modern recreational prospectors still utilize rocker boxes to recover gold in remote sites.
Conclusion
Building a rocker box for gold recovery is a practical and rewarding project. With minimal materials and clear construction steps, any aspiring prospector can create this valuable tool. By understanding its mechanics and operational techniques, you increase your chances of a successful gold recovery experience in remote locations. Remember, the thrill of finding gold lies not only in the prospecting itself but also in the journey you take to seek it.


